Homemade Dairy-Free Almond Milk
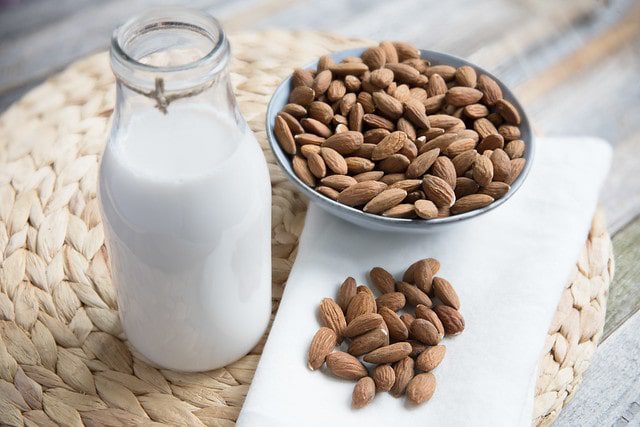
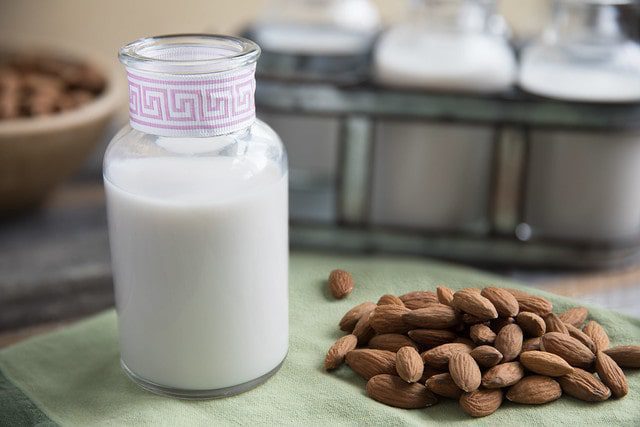
We’re getting back to basics today with a new dairy-free, vegan-friendly nut milk recipe, and that’s almond milk.
Many of you have been requesting this recipe for months, so I’m excited to show you just how easy it is to make almond milk at home.
When it comes to nut milk, I’m personally a fan of my homemade cashew milk recipe. But I also understand that some may have a sensitivity to cashews or depend on where you live in the world, cashews may be more expensive or harder to find.
Almonds, on the other hand, are readily available, cost-effective, and this nut milk is just as easy to make.
There’s only one slight difference, and that’s that you have to strain it.

What are the health benefits of almond milk?
The benefits of making almond milk at home are that you won’t have any unnecessary fillers, gums, chemicals, or other nasties and you can control the amount of sweetness that you’d like in your almond milk.
HOW TO MAKE ALMOND MILK
Let me show you how to make it. We’ll start with one cup of raw almonds. And make sure that you are using raw almonds and not roasted or salted almonds as those would leave your almond milk with an oily or salty flavor.
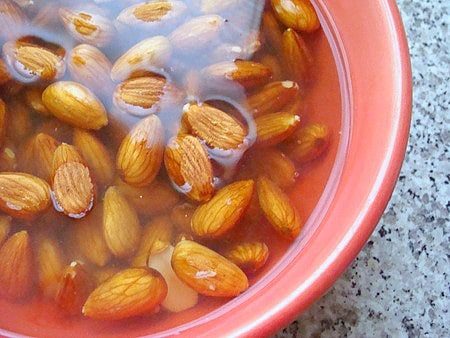
Add the almonds to a glass bowl or storage container and cover them with water.
Then give them a quick stir to make sure that they’re all submerged, add a lid, and let these soak overnight.
The next day, you’ll see that the water looks quite murky and the almonds have plumped a little.

Drain the almonds and give them a rinse and then add them to your Vitamix. You’ll see in just a second how quickly the Vitamix can turn almonds into creamy almond milk with its powerful motor and hardened steel blades.
To the almonds, we’ll add four cups of filtered water, a pinch of sea salt, and if you’d like, a sweetener of your choice.
I’m adding two pitted dates today, but honey, maple syrup, stevia, or monk fruit all work as well. And if you’d like a vanilla flavor, just add one teaspoon of vanilla extract.
Add the lid to your Vitamix, turn it on high, and let it blend for one minute.
To strain the almond milk, use a nut milk bag or a few layers of cheesecloth. And as I’ve mentioned before, I like to use my nut milk bags inside out so that food particles don’t get stuck in the seams and they’re easier to wash.
Gently squeeze out all of the almond milk and you’ll be left with almond pulp in the bag.

You can discard this or dry it and use it in future recipes.
Pour the almond milk into a storage container. And I recommend this Weck juice jar as it’s a perfect fit for one batch of almond milk.
I also recommend straining into a large measuring bowl with a pour spout like this one as it makes transferring to the juice jar a lot less messy.
And I’ll link both of these items below. Then, all that’s left to do is refrigerate your almond milk until it’s nice and cold, and enjoy.
I hope you enjoyed today’s new Healthy Basics.
IF YOU LOVE THIS RECIPE TRY THESE OUT!
Print
Homemade Almond Milk Recipe
- Total Time: 8 hours
- Yield: 4 Servings 1x
Description
Homemade Almond Milk is delicious and easier to make all you need is 2 ingredients, it's dairy-free and vegan-friendly
Ingredients
- 1 cups raw almonds, soaked overnight
- 4 cups cold filtered water, plus more for soaking
Optional :
- 1 tsp vanilla extract
- 1 tbsp maple syrup, honey or 1–2 soaked dates
- pinch of sea salt
Instructions
- After the almonds have soaked overnight, drain and rinse them.
- Place the almonds in your Vitamix along with four cups of fresh, cold water and any optional add-ins.
- Blend on high for 2 minutes.
- Strain the almond milk through a nut-milk bag or a few layers of cheesecloth into a bowl or large measuring cup.
- Pour the almond milk into an air-tight storage container and place in the fridge for up to 3 days.
- Prep Time: 8 hours
- Category: Drinks
- Cuisine: American
Nutrition
- Calories: 107.1
Find Me On Facebook, Twitter, Instagram, and Pinterest For More Fast And Easy Recipes 🙂
Let Me Know In The Comments If You Enjoyed them.